강의 실습때 상태 UI와 모닥불을 닿을때 체력이 감소하는 걸 구현한 것을 분석해보자
먼저 상태 UI
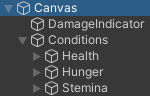
하이어라키에서 Canvas를 생성하고 Conditions라는 이름의 빈 게임오브젝트를 생성하고
각 해당 속성의 UI들을 그룹으로 묶는다.

안에서 두 이미지를 생성하는데 Icon은 해당 이미지를 불러오고
Bar는 사각형 이미지인데 따로 불러오는 것이 있다.
Bar의 역할은 아이콘 쪽으로 줄어들고 다시 원상태로 늘리는 역할이다.
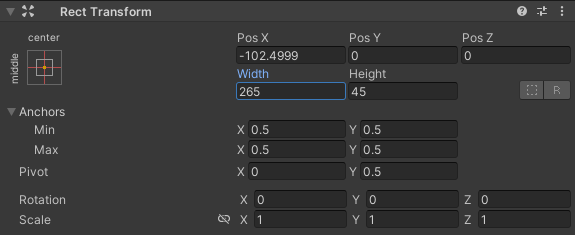
원래의 생각은 Pivot X값을 0으로 하고 Width를 조절하는 것이다.
그런 요점으로 두면 개발할 때 약간의 어려움이 있을 것이다.
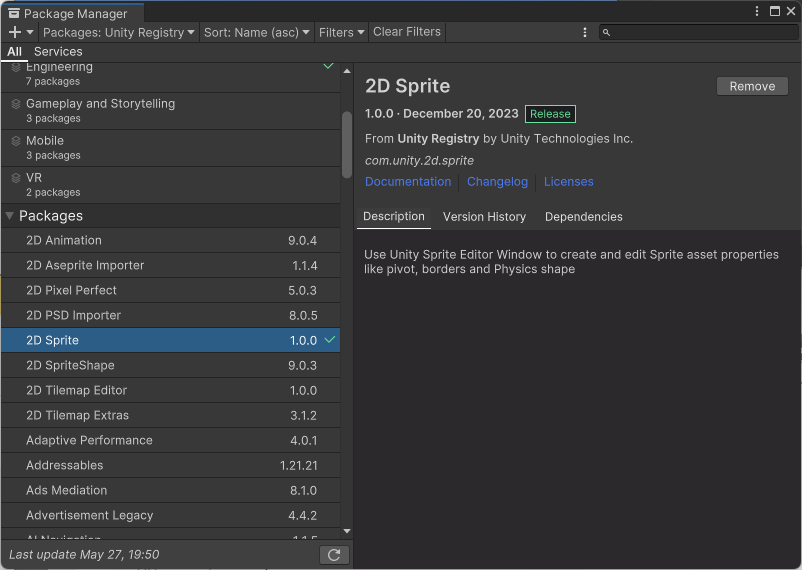
그래서 PackageManager를 들어가서 2D Sprite를 임포트한다.
에셋 창에서 Create > 2D > Sprite > Square를 클릭해서 스프라이트를 생성한다.
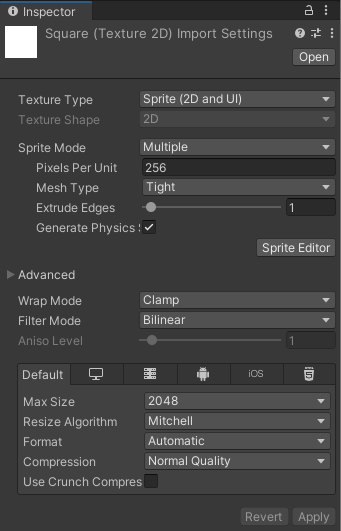
생성한 인스펙터 창에서는 평범한 이미지 같이 보이지만
Bar의 인스펙터 창으로 보면 Image컴포넌트에 들어가보면 Source Image에 생성했던 Sprite를 임포트한다.
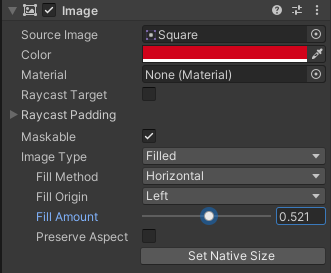
다음으로 Maskable를 체크하면 아래 속성들이 나온다.
Image Type
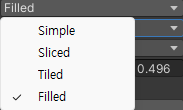
여기서 체력을 증감하는 모션을 구현하기 위해서 Filled로 설정한다.
Fill Method
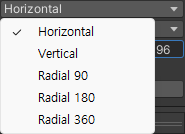
 Horizontal |
 Vertical |
 Radial 90 |
 Radial 180 |
 Radial 360 |
답이 나왔다. Horizontal로 하는것
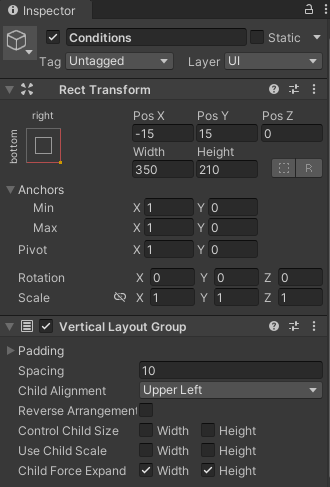
다음으로 여러 상태들을 정렬하기 위해서 Layout Group을 추가한다.
에디터 부분에서 구현이 완성되었으면 스크립트를 작성하자
public class Conditions : MonoBehaviour
{
    public float curValue;
    public float startValue;    //저장된 데이터를 로드할때 유용
    public float maxValue;
    public float passiveValue;  //지속적으로 감소되는 양
    public Image uiBar;

    private void Start()
    {
        //현재 Bar값을 처음 값으로 설정
        curValue = startValue;
    }

    private void Update()
    {
        //UI 업데이트
        uiBar.fillAmount = GetPercentage();
    }

    float GetPercentage() => curValue / maxValue;

    public void Add(float value) => curValue = Mathf.Min(curValue + value, maxValue);
    public void Subtract(float value) => curValue = Mathf.Max(curValue - value, 0);
}
에디터로 돌아와서 각 Bar속성의 컴포넌트를 추가한다.

묶은 그룹인 Conditions가 안에 있는 속성들을 제어하기 위한 스크립트를 작성한다.
public class UICondition : MonoBehaviour
{
    public Conditions Health;
    public Conditions Hunger;
    public Conditions Stemina;

    // Start is called before the first frame update
    void Start()
    {
        CharacterManager.Instance.Player.condition.uiCondition = this;
    }
}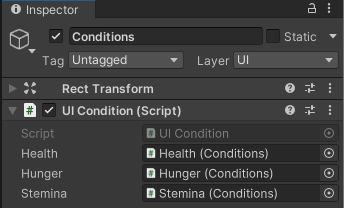
Conditions가 있는 UI오브젝트를 이름에 맞게 넣는다.
다음으로 PlayerCondition 스크립트를 만들어 다음과같이 작성한다.
public interface IDamagable
{
    //피격이 필요하면
    void TakePhysicalDamage(int dmg);
}

public class PlayerCondition : MonoBehaviour, IDamagable
{
    public UICondition uiCondition;
    Conditions health { get => uiCondition.Health; }
    Conditions hunger { get => uiCondition.Hunger; }
    Conditions stemina {  get => uiCondition.Stemina; }

    public float noHungerHealthDecay;

    public event Action onTakeDamage;

    void Update()
    {
        hunger.Subtract(hunger.passiveValue * Time.deltaTime);  //음식을 먹지 않으면 허기 감소
        stemina.Add(stemina.passiveValue * Time.deltaTime);     //대쉬를 하지 않으면 스테미나 증가

        if(hunger.curValue <= 0)    //허기가 0일때
            health.Subtract(noHungerHealthDecay * Time.deltaTime);

        if(health.curValue <= 0)    //체력이 0일때
            Die();
    }

    //각 체력과 허기 증가
    public void Heal(float amount) => health.Add(amount);

    public void Eat(float amount) => hunger.Add(amount);

    public void Die()
    {

    }

    public void TakePhysicalDamage(int dmg)
    {
        health.Subtract(dmg);
        onTakeDamage?.Invoke();
    }
}
메인 클래스에서 IDamagable를 상속받아서 TakePhysicalDamage 안에서 health안에 속성을 감소하는 메서드를 찾아서 dmg만큼 감소하게 만든다.
IDamagable을 인터페이스로 정의한 이유는 플레이어뿐 아니라 적을 구현할 때도 데미지를 받는 기능을 추가해 플레이어와 연출이 다르게 나타날 수 있는 코드를 작성할수 있기에 인터페이스로 정의를 한 것이다.
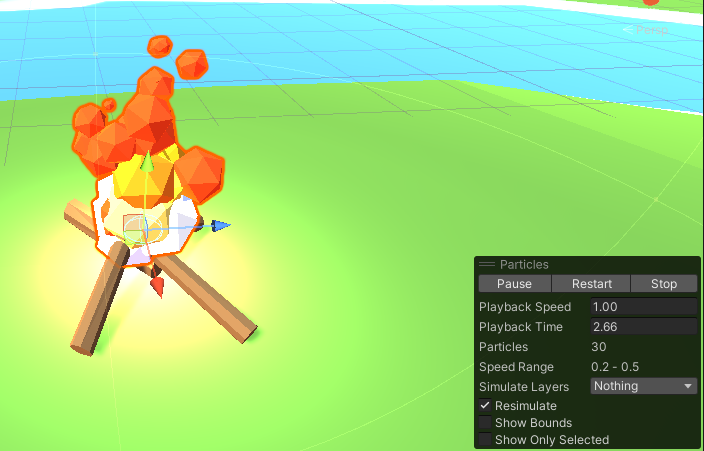
다음으로 모닥불을 구현하여 플레이어가 닿으면 체력이 감소하는 것을 구현하자.
모닥불이 필요한 기능을 위해 컴포넌트와 스크립트를 추가한다.
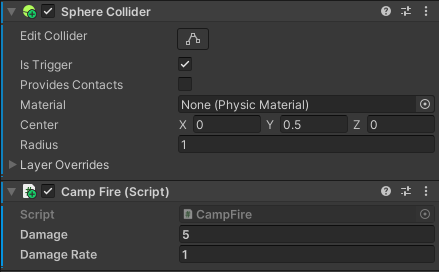
public class CampFire : MonoBehaviour
{
    public int damage;  //오브젝트로 전달하기 위한 피격량
    public float damageRate;    //호출 주기

    List<IDamagable> things = new List<IDamagable>();

    // Start is called before the first frame update
    void Start()
    {
        //시작할 때 DealDamage를 damageRate단위로 호출시킨다.
        InvokeRepeating("DealDamage", 0, damageRate);
    }

    void DealDamage()
    {
        //things에 있는 오브젝트들 안에 해당 메서드를 호출
        for (int i = 0; i < things.Count; i++)
            things[i].TakePhysicalDamage(damage);
    }

    private void OnTriggerEnter(Collider other)
    {
        //IDamagable이 있는 오브젝트가 있으면 아래 문장을 실행한다.
        if(other.TryGetComponent(out IDamagable damage))
            things.Add(damage); //리스트로 선언한 things에 추가한다.
    }

    private void OnTriggerExit(Collider other)
    {
        if (other.TryGetComponent(out IDamagable damage))
            things.Remove(damage);  //반대로 트리거를 나가면 things에 제거
    }
}
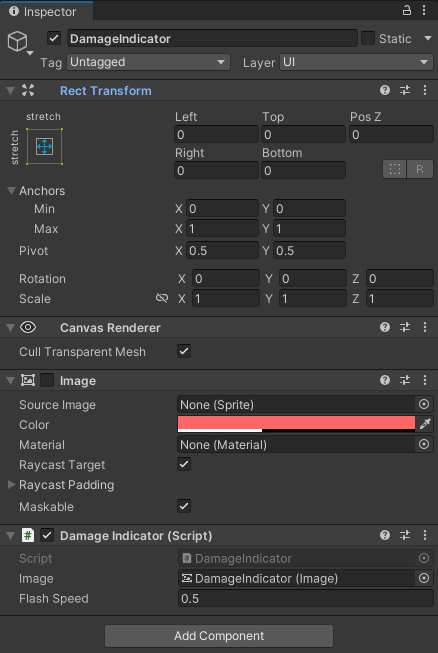
다음으로 피격을 받으면 배경이 빨갛게 변하는 효과를 구현해보자
public class DamageIndicator : MonoBehaviour
{
    public Image image;
    public float flashSpeed;

    private Coroutine coroutine;

    // Start is called before the first frame update
    void Start()
    {
        CharacterManager.Instance.Player.condition.onTakeDamage += Flash;
    }

    public void Flash()
    {
        if (coroutine != null)  //코루틴이 있으면 정지
            StopCoroutine(coroutine);

        image.enabled = true;   //컴포넌트를 활성화
        image.color = new Color(1f, 105f / 255f, 105f / 255f);
        coroutine = StartCoroutine(FadeAway());
    }

    private IEnumerator FadeAway()
    {
        float startAlpha = 0.3f;
        float a = startAlpha;

        while(a > 0)
        {
            a -= (startAlpha / flashSpeed) * Time.deltaTime;
            image.color = new Color(1f, (100 / 255), (100 / 255), a);
            yield return null;
        }

        image.enabled = false;
    }
}
여기서는 코루틴으로 사용했는데 하이어라키에는 다음과 같이 설정하였다.
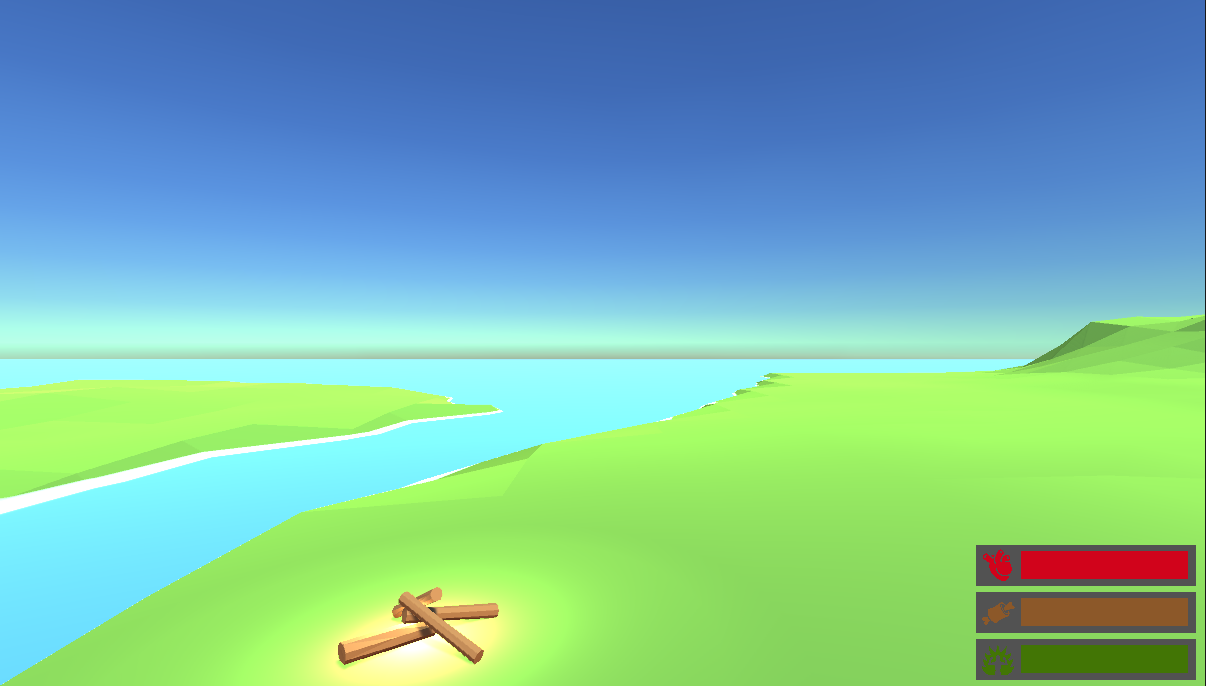
다 완성되었으면 결과를 확인해보자
모닥불에 닿으면 플레이어의 체력이 주기마다 감소되고 배경색이 빨갛게 변하는 것을 볼 수 있다.
실습이었지만 한번더 학습하여 FPS게임을 만들때 이런 요소들을 활용할 수 있을 것이다.
by 스파르타 코딩클럽
'개발 TIL' 카테고리의 다른 글
| 5/29 부트캠프 개발 TIL (아이템 효과) (0) | 2024.05.29 |
|---|---|
| 5/28 부트캠프 개발 TIL (물리 가속도와 마찰) (0) | 2024.05.28 |
| 5/24 부트캠프 개발 TIL (ForceMode, Ray관련, Skybox) (0) | 2024.05.24 |
| 5/23 부트캠프 개발 TIL (Raycast) (0) | 2024.05.23 |
| 5/22 부트캠프 개발 TIL (코루틴과 콜라이더) (0) | 2024.05.22 |