Sprite Atlas란 스프라이트 파일 여러개를 가져다가 하나의 에셋 파일로 압축해 놓은 것을 말한다.
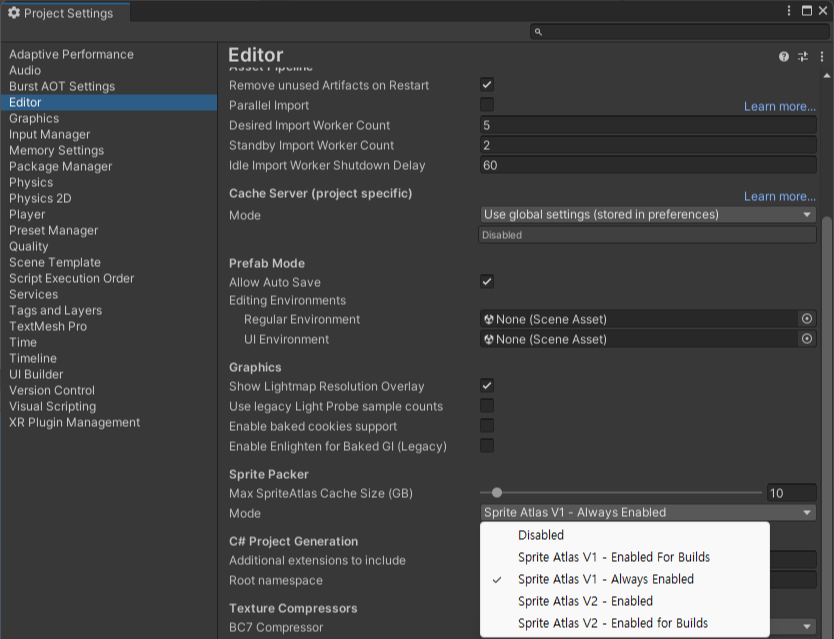
시작하기 앞서 Sprite Atlas를 따로 설치해야 되는데 Project Setting에 들어가서 해야한다.
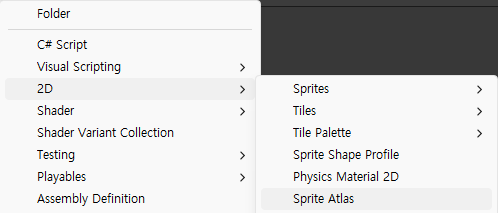
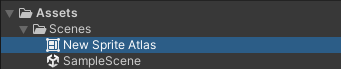
설정을 마치고 에셋에 추가해보자
이제 Sprite Atlas가 무슨 역할을 해주는지 인스펙터로 설명하겠다.
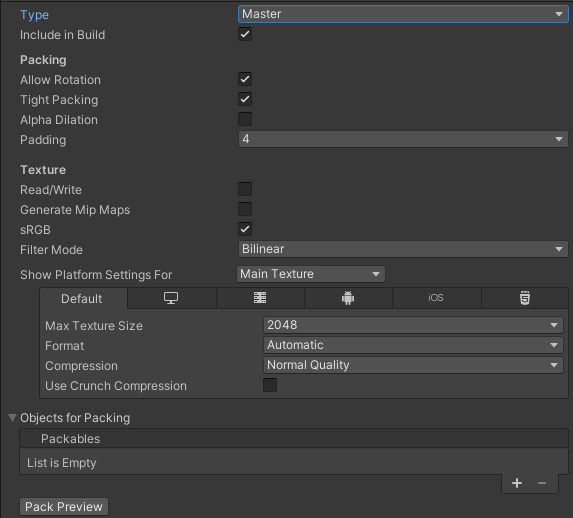
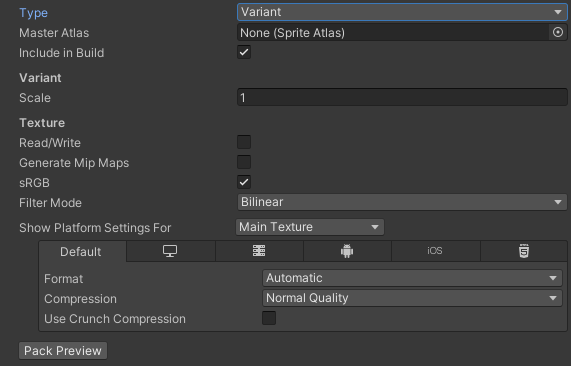
우선 타입이 2가지가 있다. Master와 Variant가 있는데
Master는 모든 스프라이트를 하나로 압축하는 것이고
Variant는 Master Atlas를 가져오는 것인데 주로 Master 타입을 사용한다.
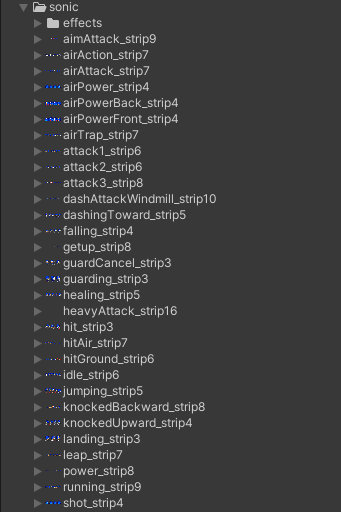
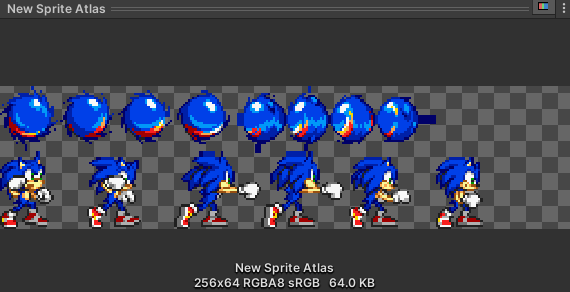
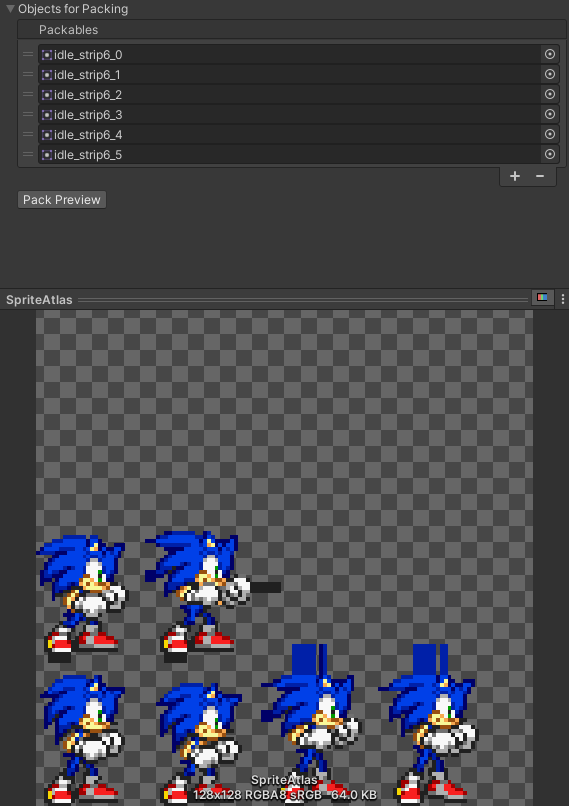
어떻게 하는건지 알기 위해 이렇게 소닉 스프라이트를 가져왔다.
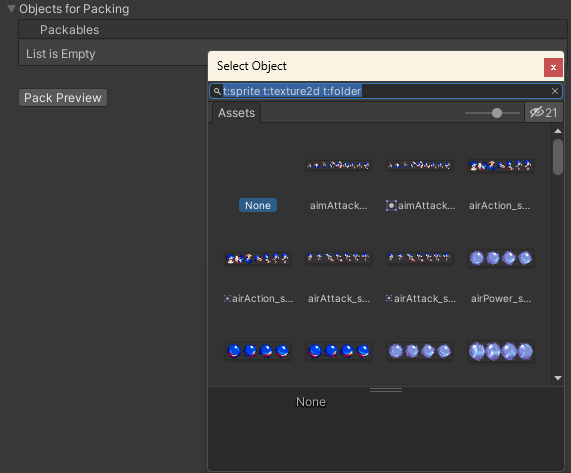
소닉 스프라이트를 Sprite Atlas 마스터 이미지에서 Objects for Packing 항목을 추가하여 스프라이트를 추가한다.
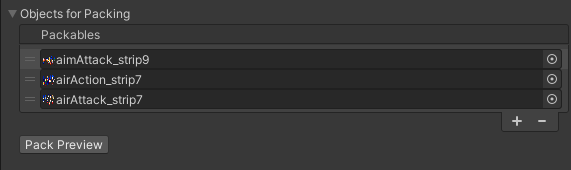
"Pack Preview"버튼을 누르면 아래 결과가 나온다
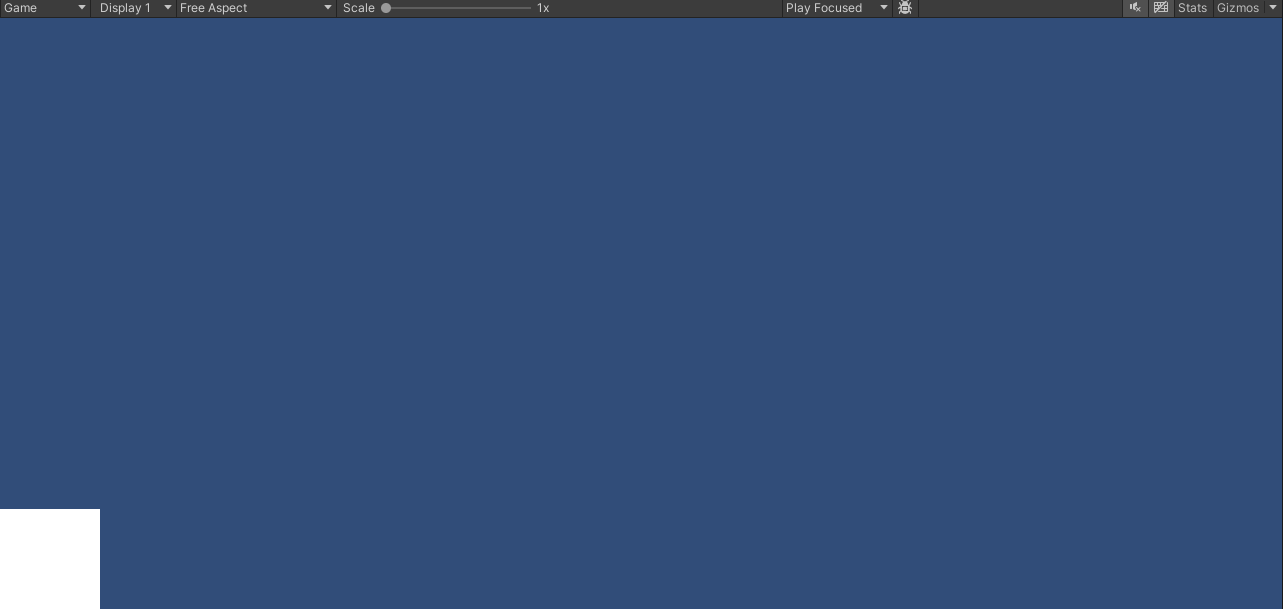
이것을 오브젝트에 활용하기 위해서 먼저 UI에 적용시켜 보자
이걸 중간에 옮겨서 스크립트를 작성하고
using UnityEngine;
using UnityEngine.UI;
using UnityEngine.U2D;

public class SpriteManager : MonoBehaviour
{
    [SerializeField] private SpriteAtlas spriteAtlas;
    [SerializeField] private Image image;

    private int spriteIndex = 0;
    private string[] spriteName =
    {
        "airPower_strip4",
        "airPowerFront_strip4",
        "attack1_strip6"
    };

    private void Start()
    {
        //이건 public이나 [SerializeField]가 없을 경우에만 로드한다.
        //spriteAtlas = Resources.Load<SpriteAtlas>("SpriteAtlas");

        image.sprite = spriteAtlas.GetSprite(spriteName[spriteIndex]);
    }

    private void Update()
    {
        if(Input.GetKeyDown(KeyCode.LeftArrow))
        {
            if (spriteIndex > 0)
                spriteIndex -= 1;

            image.sprite = SpriteReturn(spriteName[spriteIndex]);
        }
        else if(Input.GetKeyDown(KeyCode.RightArrow))
        {
            if(spriteIndex < spriteAtlas.spriteCount)
                spriteIndex += 1;

            image.sprite = SpriteReturn(spriteName[spriteIndex]);
        }
    }

    public Sprite SpriteReturn(string name)
    {
        return spriteAtlas.GetSprite(name);
    }
}
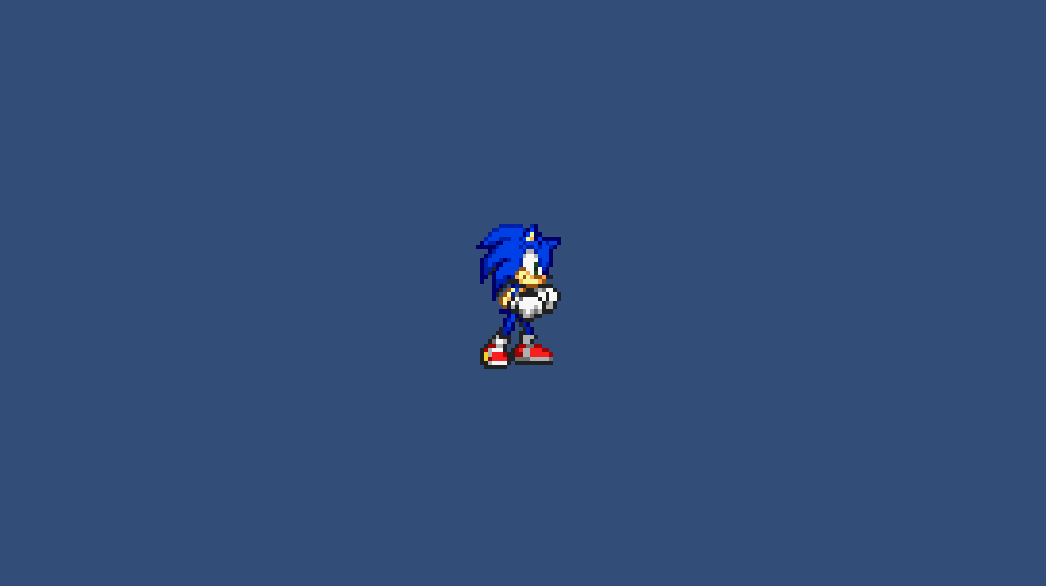
오브젝트에 적용시키면

실행결과
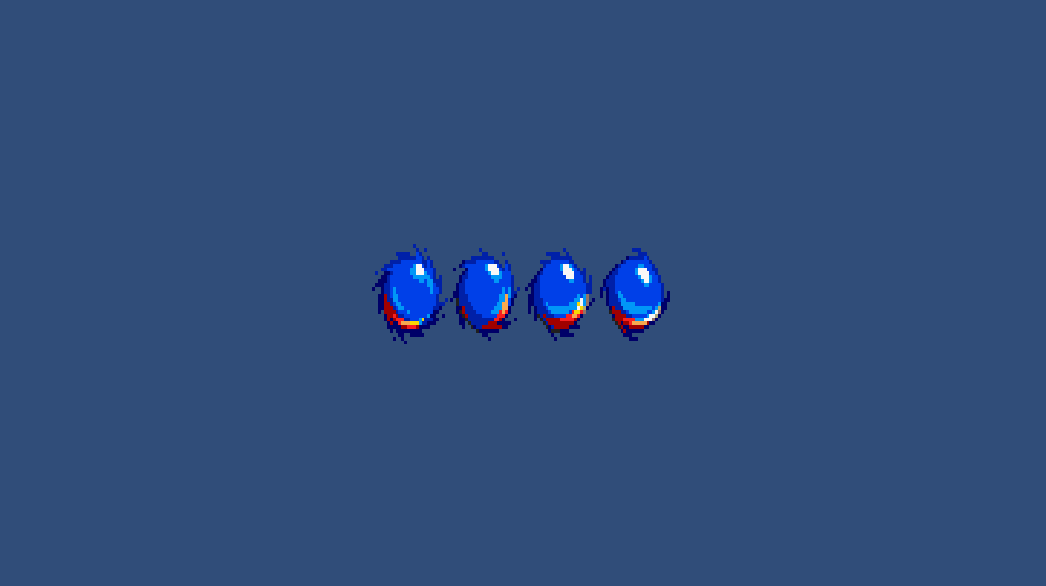
방향키를 눌러 다음 저장된 소닉의 모습이 변경되었다.
단 소닉이 여럿이 보이면 어색할수 있으니 스프라이트 편집해서 분할하자
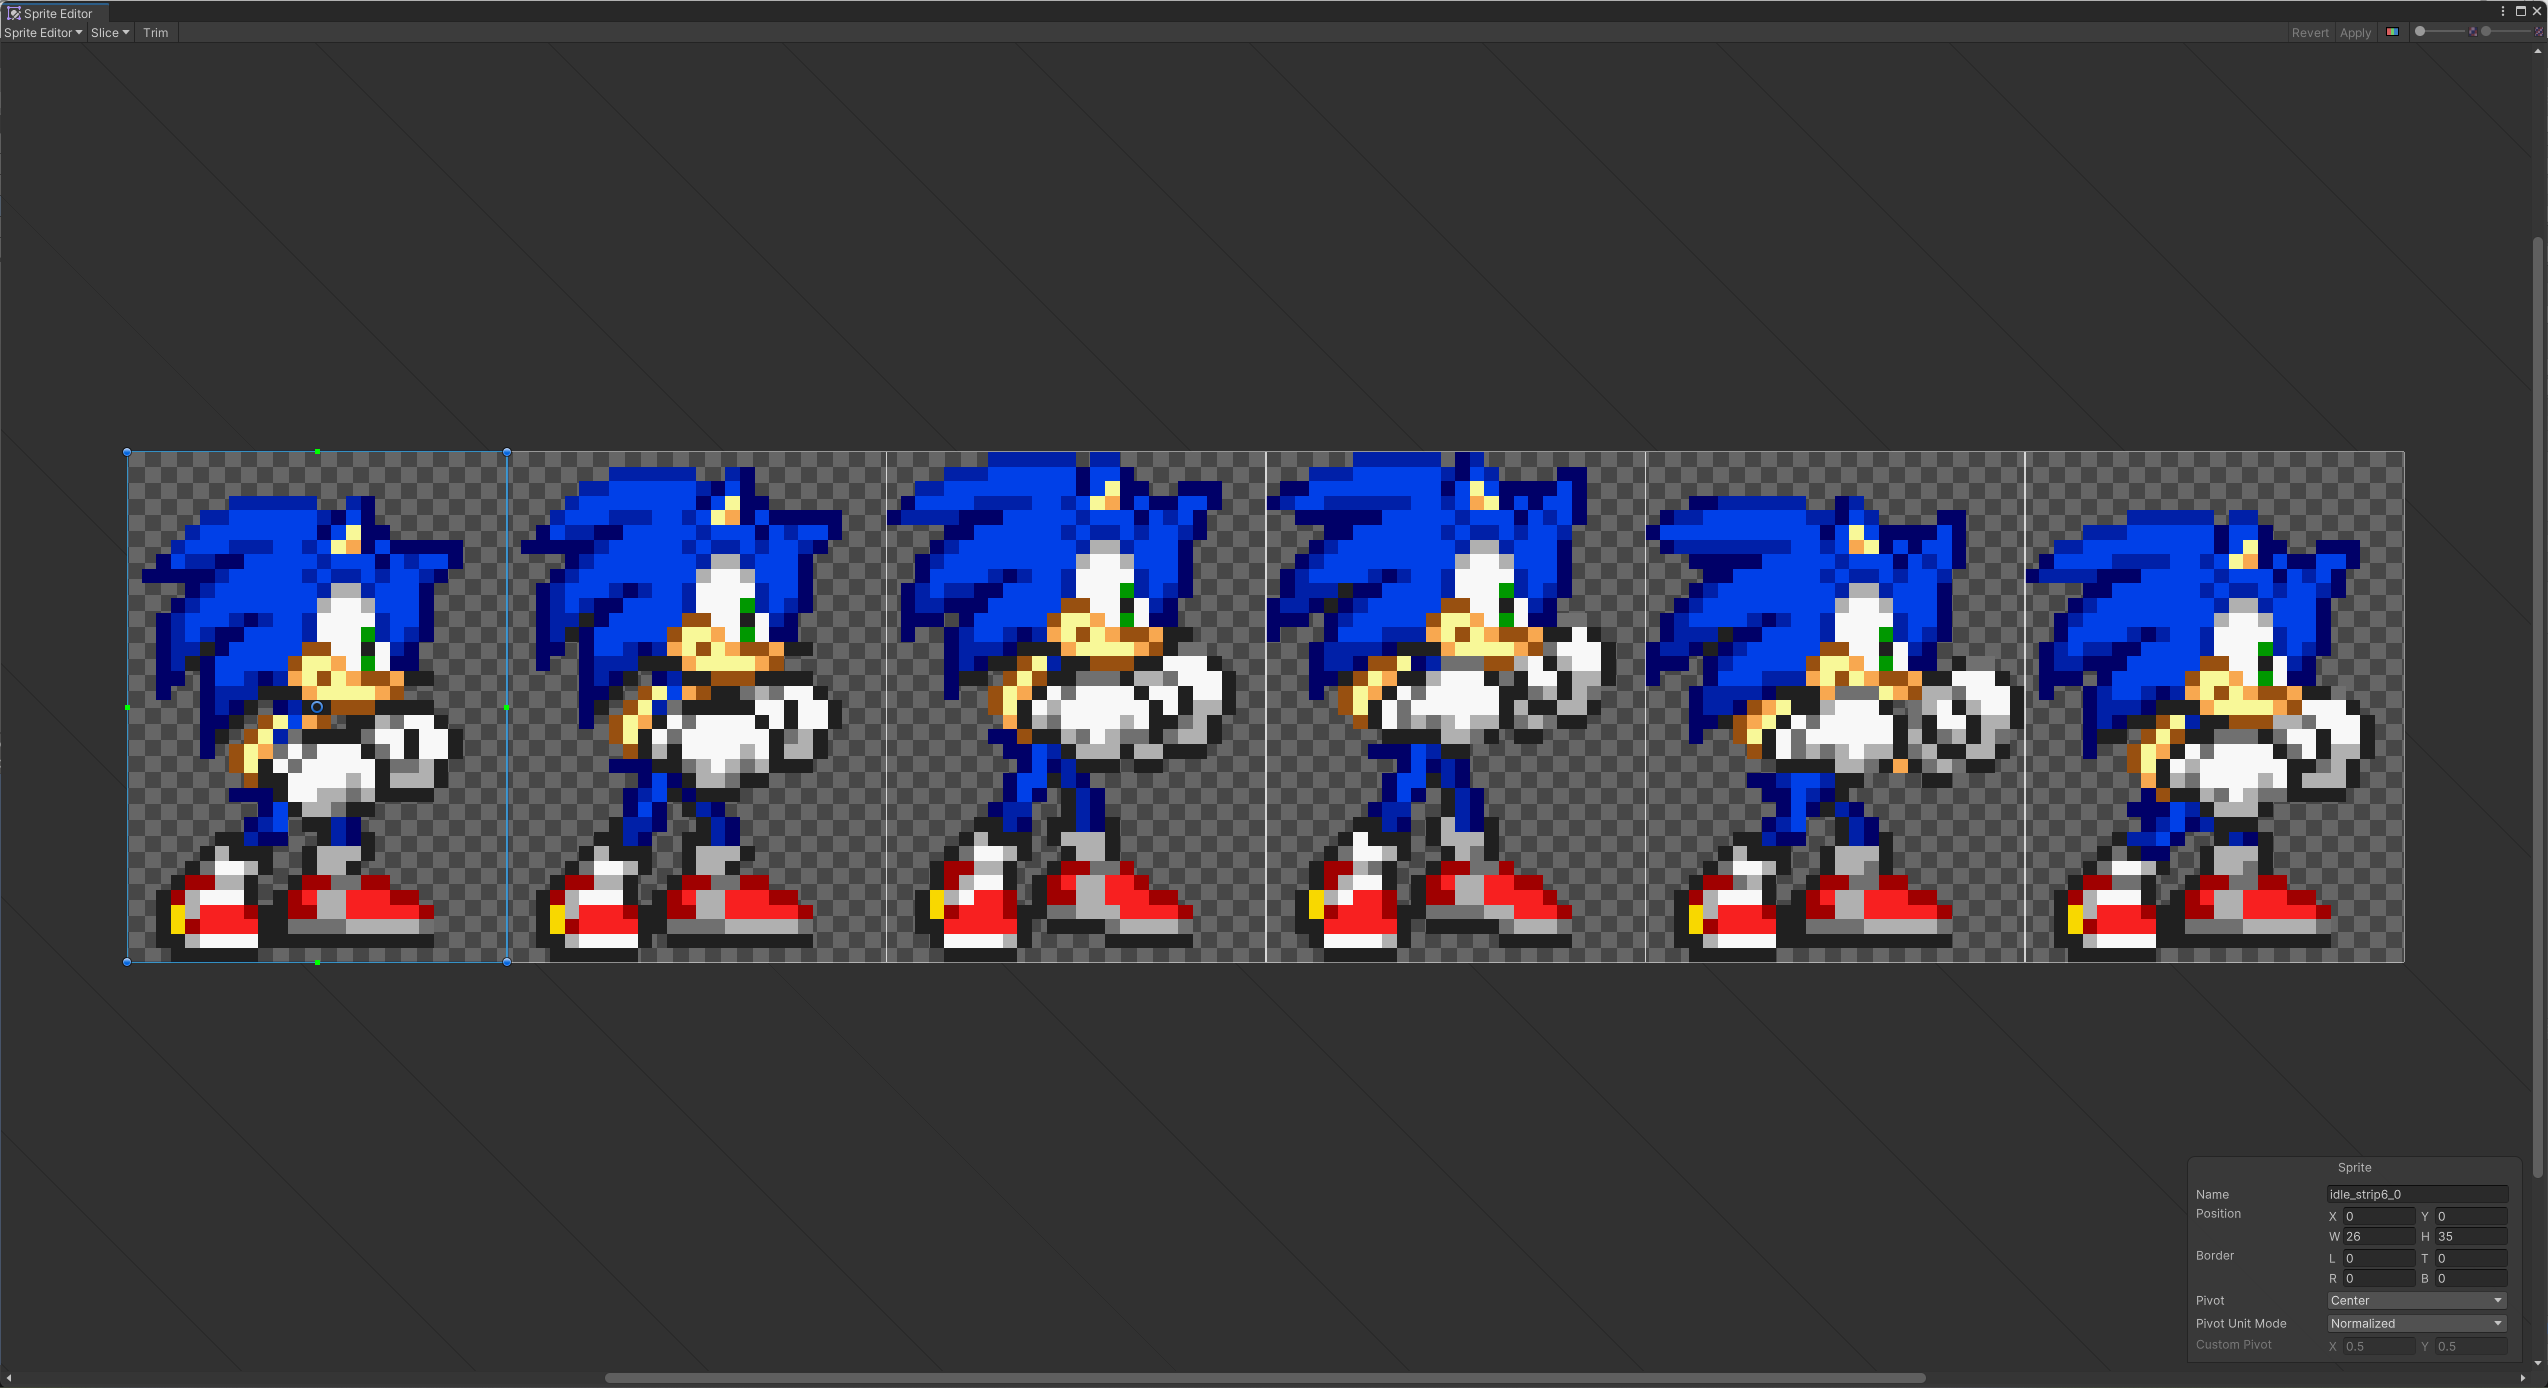
분할후 Sprite Atlas에 넣으면
그리고 코드를 다시 수정해보자
이번에는 코루틴을 사용하여 소닉이 움직이는 동작을 만들어보자
using System.Collections;
using UnityEngine;
using UnityEngine.UI;
using UnityEngine.U2D;

public class SpriteManager : MonoBehaviour
{
    [SerializeField] private SpriteAtlas spriteAtlas;
    [SerializeField] private Image image;

    private int spriteIndex = 0;
    private string[] spriteName = new string[6];

    private void Start()
    {
        //이건 public이나 [SerializeField]가 없을 경우에만 로드한다.
        //spriteAtlas = Resources.Load<SpriteAtlas>("SpriteAtlas");

        for (int i = 0; i < spriteName.Length; i++)
            spriteName[i] = $"idle_strip6_{i}";

        image.sprite = spriteAtlas.GetSprite(spriteName[spriteIndex]);

        StartCoroutine(NextFrame());
    }

    IEnumerator NextFrame()
    {
        while(true)
        {
            if (spriteIndex < spriteAtlas.spriteCount - 1)
                spriteIndex++;
            else
                spriteIndex = 0;
            image.sprite = spriteAtlas.GetSprite(spriteName[spriteIndex]);
            yield return new WaitForSeconds(0.1f);
        }
    }
}
실행하면
소닉이 움직인다. 물론 가만히 있을 때 상태이면
Sprite Atlas
장점 : 여러 파일을 한번에 관리할 수 있다.
단점 : 원하는 스프라이트를 찾을 때 이름이나 인덱스를 직접 찾아야 한다.
이런 건 UI나 순서이미지에 어울릴 듯 하다.
by 스파르타 코딩클럽
'개발 TIL' 카테고리의 다른 글
| 7/2 부트캠프 개발 TIL (타일맵 콜라이더) (0) | 2024.07.05 |
|---|---|
| 7/1 부트캠프 개발 TIL (프로파일러) (0) | 2024.07.04 |
| 6/27 부트캠프 개발 TIL (유니티 단축키들) (0) | 2024.07.02 |
| 6/26 부트캠프 개발 TIL (GUI Layout) (0) | 2024.07.01 |
| 6/25 부트캠프 개발 TIL (디버깅에 관하여) (0) | 2024.07.01 |